Add a new node
To add a new node to a hierarchy:
- Select the folder which will contain the new node and click the Add
button
 in the Home tab on the ribbon (or right-click for the context menu and select Add). If there are no nodes that can be added under the selected node, the
Add button will be disabled.
 - The list of available node types will be displayed. Note that only one regime and one terms document can exist within each folder. Only existing regimes can be added to the hierarchy from the Manage Inputs workspace (to create a new regime in the Regime Library workspace, see Add a new regime)
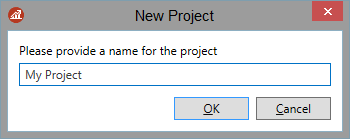
- Select the node type and enter the new node name in the pop-up dialog. All nodes must have a unique name; if an item with this
name already exists, an error message will be displayed and you will have to choose a different name. Names can be up to 140
characters long and contain any symbols except for
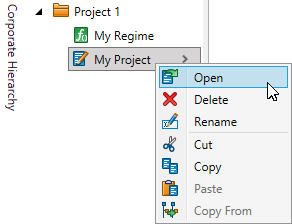
\ / : * ? < > | " , = ^ ; @. - To edit the new node, double-click it or right-click and select Open. If you are editing a regime, when you right-click, select Edit Using Regime Library. The node will be displayed in the document pane.

Note: If you do not add a new regime, the project will use the nearest regime within the hierarchy (starting from within its own folder and searching upwards).


For information on configuring nodes, see Settings tab, Create a regime and Terms.
